How to Repaint a Shed in 7 Steps: A No-Nonsense Guide
While they can easily blend into the background of your garden and become a mere part of the scenery, garden sheds serve a really useful function. From storing all of your garden goodies (AKA your tools, beloved flower bulbs and possibly even your bike) to doubling up as a home office, there’s all the more reason to ensure that you stay on top of the maintenance. Which is why, in this no-nonsense guide, we’re going to spill the tea on how to repaint a shed in 7 simple steps that even newer DIYers can follow with ease.
For the ambitious, impatient and curious, here’s a bird’s eye view of everything we’re going to cover in this guide, from the preparatory steps to the secret to achieving a long-lasting, smooth finish.


- The Why: Benefits of Repainting Your Shed
- The When: Knowing When to Give Your Shed a New Lick of Paint
- The What: Materials & Equipment
- The How: Repainting a Shed in 7 Steps (Wood, Plastic & Metal)
- Conclusion
The Why: Benefits of Repainting Your Shed
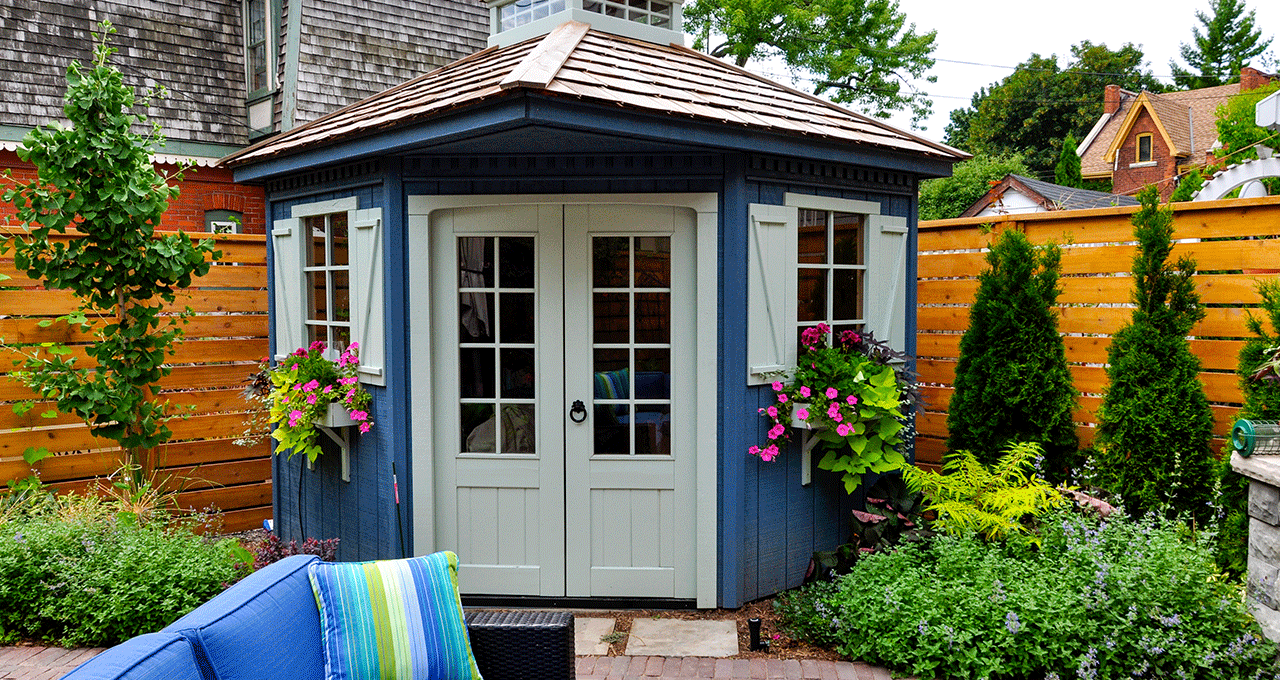
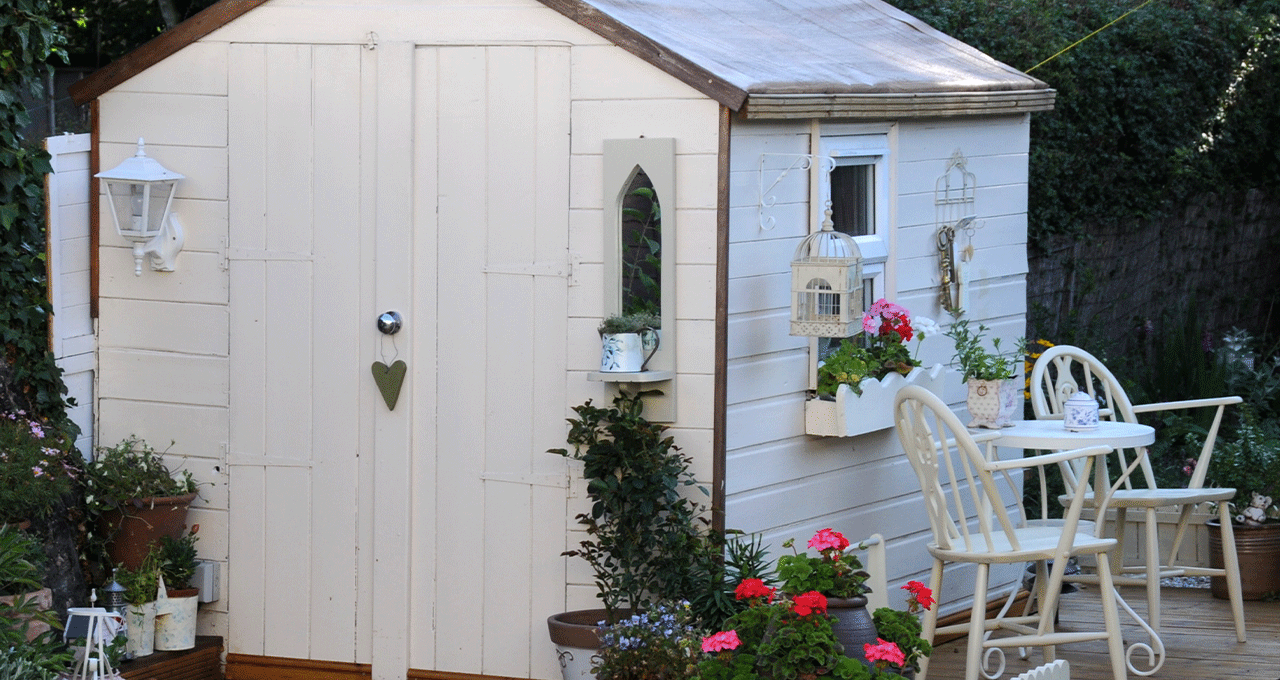
Why bother painting your shed? It sounds like an obvious question; however, there’s a bit more nuance to it than ‘because it looks good’ or even ‘I feel like a change’. Sure, these are both valid reasons, but there are many benefits beyond the aesthetics. For one, did you know that colour can play with our perception of space and size? By painting your shed a new colour, you could create the illusion of additional square metres – greens and blues are pretty effective here, melting into the garden surroundings and blurring its boundaries. Alternatively, you could make it stand out and complement other features such as your garden furniture, back door shade or even the flowers! Then, there’s the matter of increasing the longevity of the outbuilding. With the right paint, you’ll add years onto its lifespan, protecting against garden critters, algae, mould and everything the British weather throws its way.The When: Knowing When to Give Your Shed a New Lick of Paint
Unbeknownst to a lot of people, even amongst DIY folks, the average shed (wood ones) ought to be painted once every 5 years. Basically, in topping up the paint, you are bolstering the protective layer against the elements, sun damage and different types of decay. If you do find that your shed is pretty damaged after a preliminary inspection, you might want to consider a replacement instead of continuing on with the repaint, particularly if you know the repairs are going to be a temporary stopgap before its inevitable demise and. If you evaluate that the repairs are doable and indeed worth it, you should check out our associated guides on: If worst comes to worst and the above don’t help, you can always pick out a new one. In terms of diving into the process itself, the best time to give your shed a makeover is during a dry spell, ideally a few sunny days forecast back-to-back, so the new paint has a good chance of drying. Also, think about the time of year; it’s best to avoid winter, as you’ll want to be painting in temperatures above 5°C.
The What: Materials & Equipment
Next up, let’s cover what exactly it is you need for this DIY. Remember, to achieve an admirable end result, you’ll need to select a high-quality paint & primer and use the proper tools.Choosing a Paint & Primer
It’s of the utmost importance that you choose the correct paint and primer for the job; this means checking the specs and applications against the type of shed you’re refreshing. For instance, metal and plastic will need a specialist paint that can adhere to their smoother surfaces. Although, in our experience, wooden sheds have a more attractive painted appearance. Ideally, your shed treatment should offer numerous benefits, from a durable and weatherproof finish to breathability and enduring colour. This ensures that the surface has a longer lifespan and the product is easier to apply, providing good coverage – all-in-all, this means a good-looking shed that will stay attractive and functional for years to come.Our Recommendations
In today’s booming decorating market, there’s really no excuse for opting for a sub-par coating. You can find an abundance of high-quality products in most DIY stores and even in big supermarkets. From legacy designer brands like Farrow & Ball to popular trade options, you can take your pick with the peace of mind that you won’t get dripping, flaking or cracking. Here at Estate Sawmills, we recommend taking a look at what Ronseal have to offer. These stellar products are specifically designed with sheds in mind, come in a lovely variety of natural shades and boast both anti-fungal and waterproofing properties.- Ronseal Shed & Fence Preserver – An all-rounder product with solid performance whose leftovers you can use on your fence!
- Fence Life Plus + – Compatible with both fences and sheds, this treatment can be used on rough sawn and smooth planed sheds alike, providing 5 years of lasting colour.
- One Coat Fence Life – For rough sawn sheds, this treatment offers the ultimate convenience: 2 years of lasting colour, protection against greying and only one coat necessary!
Equipment List
Repainting a shed (metal, wood, plastic or otherwise) will require you to make any necessary repairs, prep, clean and prime the surface, before getting the paint on. To do so, you’ll need all of the following tools and equipment.- Safety equipment: goggles, gloves, dust mask.
- Dust sheets or newspaper.
- Replacement boards, wood screws & other materials for repairs (optional).
- A suitable sealant/ wood filler, caulking gun and/or putty knife.
- Sandpaper of varying grits, appropriate to the surface in question.
- Hand brush, damp cloth and cleaner.
- Paint brush, roller or sprayer.
- Your chosen shed treatment.
The How: Repainting a Shed (Wood, Plastic & Metal)

What You Need to Know at a Glance
Before we get to the heart of the guide, allow us to break down the process. This tutorial will take approximately 24-48 hours to complete, depending on the condition, size and material of your shed, and requires a handful of intermediate DIY skills; namely, prepping, priming and applying the paint. This said, if you have a steady hand, an eye for detail and enough patience, it still makes a perfectly good beginner’s project.Step 1) Prep the area
As goes the old adage, failing to prepare is preparing to fail. Thus, make sure to follow these preparatory steps carefully. It all begins with getting the immediate area ready; move any garden furniture out of the way for easy access, lay down protective sheets or newspaper around the shed and set up your station with everything you need within grabbing distance.Step 2) Tackling holes, cracks & other repairs
We’re not going to get into extensive repairs here when we’ve provided a list of guides above; however, we do think it’s worth sharing some minor ones.Replacing damaged boards
Sheds go through a lot over time, bashed by stray footballs and subject to the elements. So, it’s pretty common for the boards to become damaged with age. Fortunately, this is simple to fix. You’ll need a claw hammer to pry the old board away from the framing, using a screwdriver as a guide to move the nail keeping it in place. Once the hard graft has paid off and the board is free, dispose of it and grab your replacement to slot it into the gap, tongue-side up, so it slots into the vacant groove. With the board in place, attach it to the frame by hammering in a few 38mm nails to hold it in place.Filling holes & hairline cracks
Perhaps the most common shed ailments are holes and cracks. To sort these issues and keep the structure watertight, you will need to fill them in with an appropriate caulk. Start by sanding around the damaged area and giving it a little clean. Then, with your caulking gun or a putty knife, you can apply the caulk along the vulnerable seams, using a wet finger or a caulking tool to push the filler into the gap and smooth it out. For metal and plastic sheds, you might need to get creative, like this homeowner who used gorilla tape to fix cracks that appeared on the roof.Step 3) Sand & clean the surface
To ensure that the paint properly adheres to the surface of your shed, you’ll need to get it nicely smoothened and free of all grime, debris, plus any loose paint. This will require a thorough rubbing down with medium-grit sandpaper and then a cleaning with a gentle detergent, coarse brush and water. To speed things up, you can use an electric sander. For those repainting a metal shed, you will have to address any rust. Here, it’s helpful to pair your sandpaper with a wire brush.Step 4) Mask up!
If there are areas on your shed that you want to spare from stray paint or you want to paint a different colour, it’s best to mask these off with painter’s tape. To apply, lay the tape flat along the target area, pressing down as you go. Try not to unnecessarily stretch the tape as it may break or not function as well. Once you’ve taped everything you wanted, secure it by pressing it again, this time with a smooth edge like a putty knife – even a credit card will do! Got it? Then, get your paint ready as you can begin applying it in 30 minutes.Step 5) Prime the surface
Unless you have a self-priming paint, all types of shed will strongly benefit from a layer of primer before painting, particularly surfaces vulnerable to corrosion or water damage. To get that primer on, follow the instructions on the can. Typically, you will use a roller, but a brush will also do. Apply the coat across the entire surface evenly, taking care to reach every inch, including nooks and crannies. Here, you might also want to apply a wood treatment in the same manner – just do it before applying the primer and ensure it’s fully dried.Step 6) Get painting your shed
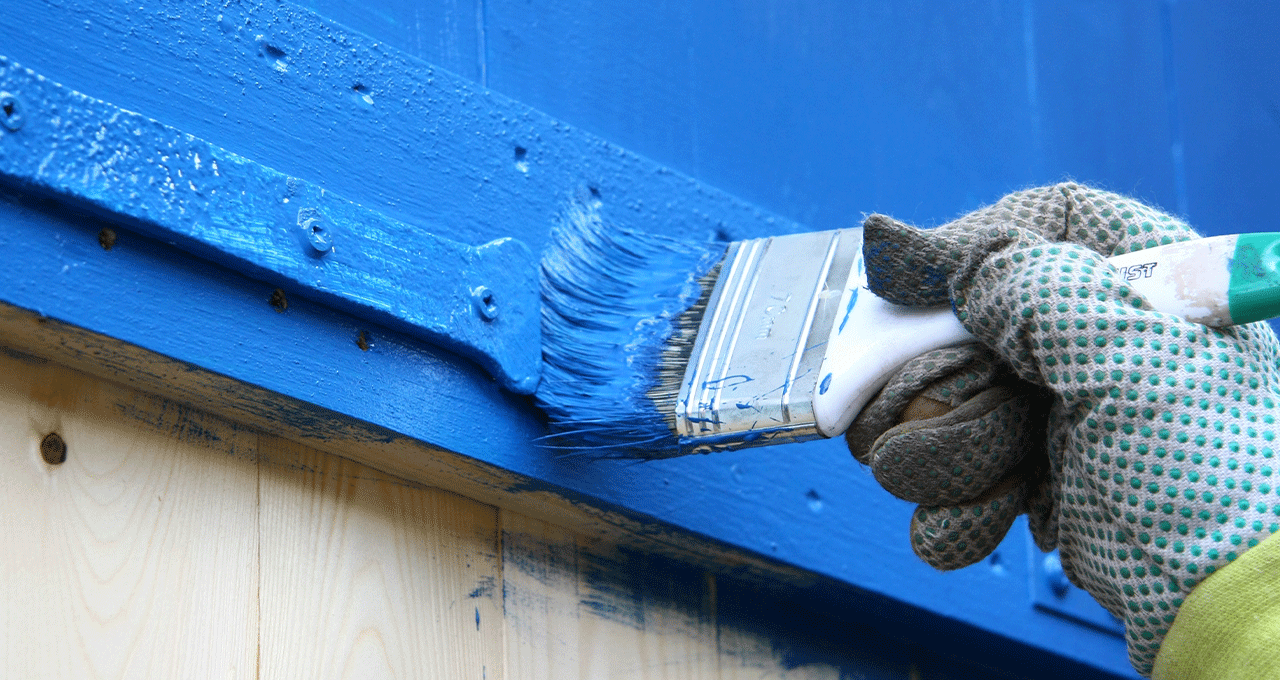
It’s time to get down to business: this is how to repaint a shed for a great finish. Here, there are two methods. A) Doing it the old-school way with a paint brush and roller. B) Opting for the spray action method. Both are equally valid, but the latter is the quickest way to go about it.Paint brush & roller
Ready? Cool! To paint your shed by hand effectively, you should apply a thick, even coat onto the walls, following the timber’s natural grain direction with your implement for wooden sheds. We recommend using the roller for larger sections and then an angled brush for the corners and details, ideally starting at the edges and then working inwards. Try not to overload the roller or brush in the process, as this can lead to dripping, which can compromise your work thus far. If you do spot any wet edges forming, deal with them quickly so they don’t dry and create permanent drip marks. Pro tip: Remember that some types of timber cladding can be full of knots. To get the paint properly ‘in there’, go in with the paint brush and take time to work it into the crevices.Sprayer
First of all, ensure that the paint you’ve opted for, be it a traditional exterior wood paint or a rust-blocking specialist paint, is compatible with the sprayer model. Happy? Then, you can begin by assembling the device so all the joints and fittings are tight before use. With the sprayer put together, you can fill it with the paint as directed by the manufacturer and start spraying. Following the grain, if there is one, or otherwise in a systematic manner, spray each wall section by section. We recommend standing approximately 15-30cm away from the shed and keeping a paintbrush on hand in case any excess paint starts to run. With the brush, you can simply lift it off and pull it to a different area.Step 7) Allow to dry & apply additional coats
Once you’ve got the first coat on, wait until it is fully dried, cross-checking its appearance with the instructions on the packaging of your chosen shed treatment. Some products might only require one coat, so here ends your DIY journey if that applies to you. If not, you’ll want to repeat step 5 to do the second and/or third coats. When you’re happy with the results, you can tidy things up and grab yourself a cuppa to celebrate – after all, you deserve it! Bonus tip: If you’ve an idea for your shed interior that involves painting the interior walls, much of the steps are the same as the ones outlined above, so why not give it a go? It’s the perfect way of bringing that external character in!
Wrapping Up On How to Repaint a Shed
There we have it – everything you need to know on how to repaint a shed. So, whether you’re embarking on this project for the first time or you’re just brushing up on your technique, we hope our tips prove helpful and, more importantly, that you achieve a silky-smooth finish. Now, all that’s left is to wait for a sunny day so you can crack on with it. For further external DIY guides and landscaping tips, why not explore the rest of our blog? We’ve got buckets of insights from the experts!
19/05/2025
#Garden Sheds
#DIY
 Processing