How to Lay Artificial Grass
How to Lay Artificial Grass in 5 Easy Steps
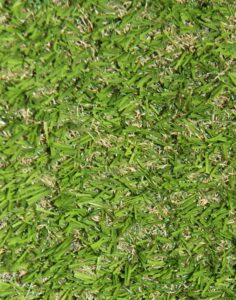
Artificial Grass is a great alternative to a natural lawn. It looks real without all the maintenance and there is no need to cut the grass or water it in dry weather. The grass is also weather resistant so you won’t get any puddles in the winter. The perfect solution for a great looking, low maintenance garden. Follow our handy DIY guide on how to lay artificial grass in 5 easy steps. You will need the following tools:- Artificial Grass
- Spade
- Craft Knife
- Building Sand
- Hammer
- Weed Control Fabric/ Membrane Layer
- Joining Tape
- Protective Gloves
- Remove the existing turf: Before the artificial grass can be laid, you will need to remove the old, existing turf. Using your spade, dig up the turf to a depth of 40mm.
- Base Layer of Sand & Level: Fill the turfed area with Building Sand to a depth of 35mm. Level the building sand and ensure that it is smooth and firm. A builder’s plank and a hammer may make this step easier.
- Add a Membrane Layer: this will help to prevent weeds from growing through the grass. Roll out the weed membrane over the top of the sand, ensure that any joints are overlapped by at least 300mm.
- Roll out Grass: roll out the grass over the area, trying not to move the weed membrane. Running the grass towards the house will give it the best look. Once the grass is laid, use the craft knife to neatly cut any excess grass.
- Fix it down: fix down the edges by using ground pins every 20cm and ruffle the grass to disguise the pin heads.
17/10/2018
 Processing